Examples
This sections shows some configuration examples.
Voice channel
EDI
-
To add attached data to calls, use EDI.
-
Choose when attached data is added and enter a comma-separated list of field names that are sent to the user interface in .
-
To store attached data in the database and to be visible in the History view of Communication Panel and in reports, enter the field names in .
IVR
- Define the IVR keys and values in your custom IVR.

- Add the keys to the setting Extra Data Included in
Statistics in .

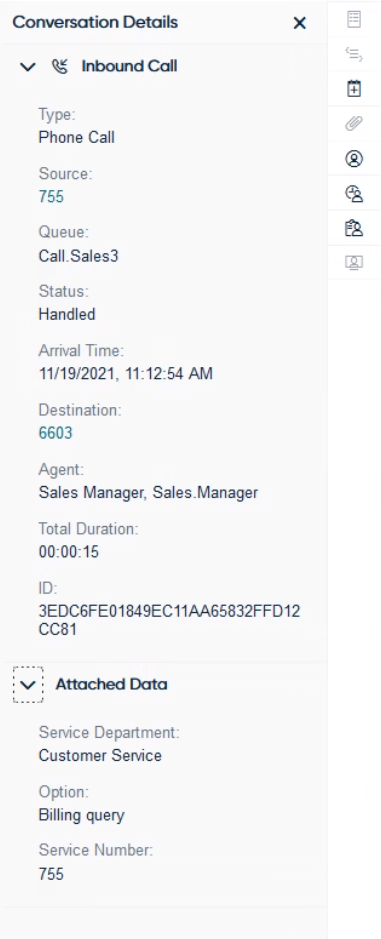
During an active call, the Attached data in Communication Panel shows data defined in the setting Extra Data Included When Allocating Calls. The history details of the call show the data defined to be included in statistics:

For more information, see Example: Passing Call Attached Data (CAD) from IVR to Queue.
Email channel
Emails
-
To add attached data to emails, use EDI.
-
Enter a comma-separated list of field names that are sent to the user interface when an email is allocated to an agent in .
-
To store attached data in the database and to be visible in the History view of Communication Panel and in reports, enter the field names in .
Tasks
-
To add attached data to tasks, use Sinch Contact Center Restful Task Interface (RTI) API.
-
Enter a comma-separated list of field names that are sent to the user interface when a task is allocated to an agent in .
-
To store attached data in the database and to be visible in the History view of Communication Panel and in reports, enter the field names in .
CP (XRI) tasks
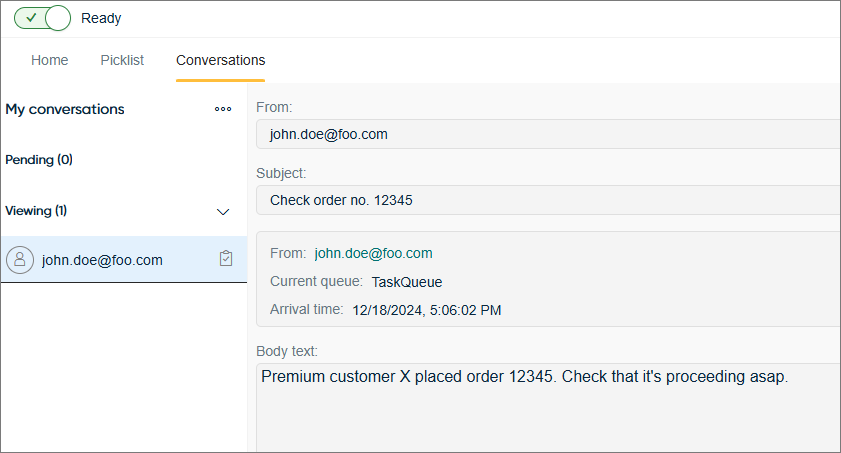
To show body data from a CP task in the same way as an email body, define field name XRI-body in CAD configuration (). Both plain text and HTML are supported in the XRI body.

Chat channel
EDI
You can show attached data in chats by using the event-driven integration (EDI) framework.
Sinch Conversation API
Conversation API metadata feature is the same as attached data in Sinch Contact Pro. The metadata feature is available for all Conversation API channels and enables you to add data when posting a conversation or posting a new message to a conversation. For more information, see Conversation API documents.
Metadata is supported for text and media messages and events.
When adding the key-value pair, use metadata instead of message_metadata. However, for backward compatibility reasons message_metadata works as well. For more information, see Inbound message in Conversation API.
Web chats
A name and an email address are automatically part of attached data. You can either configure the visitor chat so that customers have to enter them or insert them automatically with the cvc.setUser("test","test@test.com") command. You can also insert any attached data to a web chat conversation via the Visitor Intermediate Client (CVC) API. The CVC API can be used with web chat and launchpad widgets.
Note that in case of a web chat, the attached data should be inserted before chat session is started. Updating attached data during a web chat conversation is not supported.
- Define the data you want to include in chats and add it to your website:
- Open the page where your web chat is running.
- Press F12 and click the Console tab.
- In the Console tab, paste the command
cvc.setCad along with the key-value pairs, for
example:
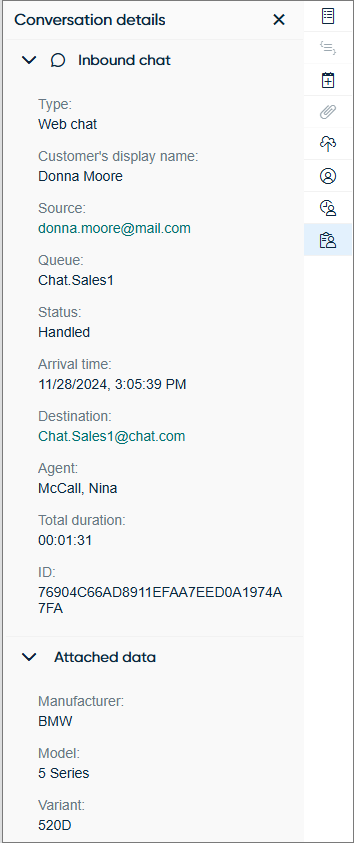
cvc.setCad({Manufacturer:"BMW",Model:"5 Series",Variant:"520D"})

- Press Enter.
For Visitor Chat API, see Visitor Intermediate Client (CVC).
- Add the values to the setting Extra Data Included in
Statistics in .

The Attached data of an active chat in Communication Panel shows all added extra data you have included in your website.
When viewing the handled conversation, it includes only the data defined in System Configurator.

