Creating email prompts
In this procedure we show you how to create an email received prompt and how to activate it for a queue.
Prerequisites
Rights to:
- Create email prompts
- Manage schedules
- View queues
- View calendars
On the System Configurator main screen, choose and click Add new.
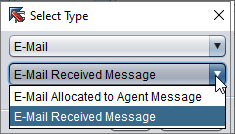
Choose E-mail and the prompt type.
In the Basics block, enter a name for the prompt.
The name is shown in .
You can also enter an additional description and an external ID that can be used to identify the prompt, for example, when importing the same prompt to several systems.
Choose the language block(s) and enter the text you want customers to see in the message.
You can use variables in the Subject field and in the body text by clicking the edit icon and choosing the suitable variable.
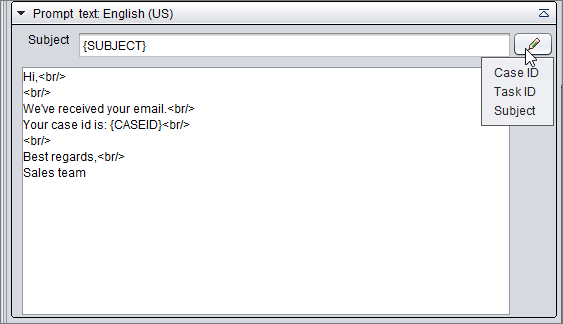
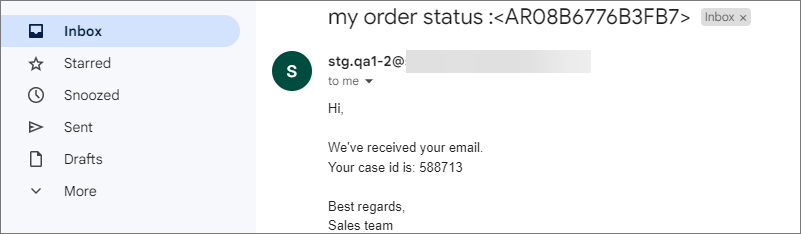
Variables are then replaced with real data in the customer email.
-
Save the prompt.
-
Then go to and click Add new.
-
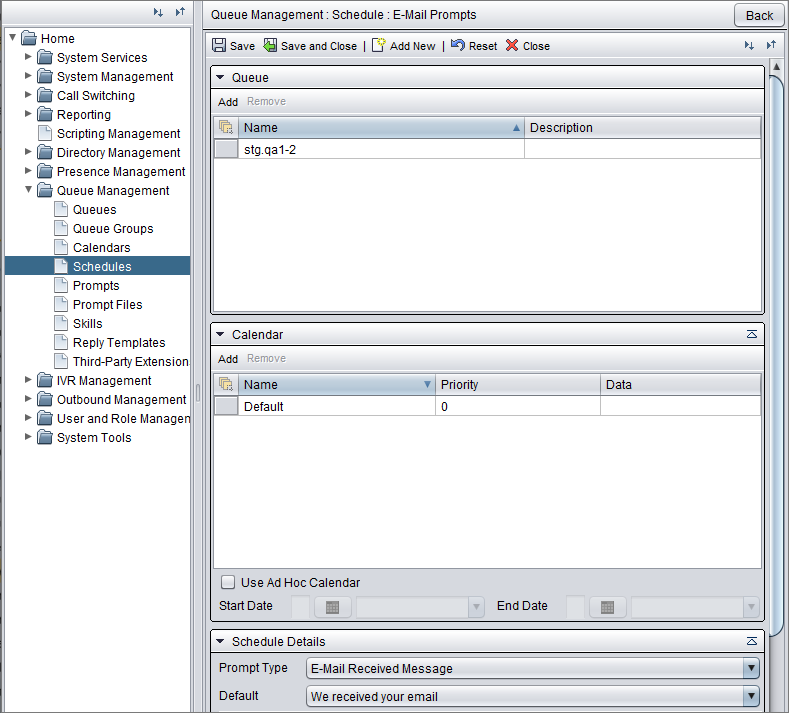
Choose E-mail prompts and Queue.
Add the queue(s) where you want this prompt to be used.
Choose the calendar.
If you want that the prompt is always used, choose the Default calendar.
-
In the Schedule details, choose E-mail received message as the prompt type and then choose right prompt for the Default field.
-
Save the schedule.