System Configurator (SC)
The following changes and improvements have been made in System Configurator.
Custom prompts location
In new installations, you can store your custom prompts in a different location than the built-in prompts. This optional setting Custom prompts location is in . If you don't define the location, custom prompts are stored in the same location as the built-in prompts. For more information, see Defining location for prompts in System Configurator.
Small usability improvements
Several small usability improvements have been made in System Configurator:
-
The size of dialogs, as well as text fields and drop-down lists in various search dialogs has been increased.
-
Parameter Name has been added to the popup shown in the user view to show the technical name of the parameter. Note that the popup is only shown if the setting in question is also found in the user settings template and if Display Default Values in Tooltip is selected in General Settings.
-
A tooltip has been added to the user settings template fields to show the technical name of the parameter. Note that the tooltip is only shown if Display Technical Names for Parameters is selected in General Settings.
Two-factor authentication
You can now enable two-factor authentication (2FA) for System Configurator login. This means users will receive a verification code they'll need to enter to log in. Verification is done by SMS or email (in beta) using the Sinch Verification API. Note that 2FA is only supported when accessing SC through Connection Web Server (CoWS), not through the Remote Administration Tool.
For more information, see the System Configurator document.
Third-party extension placement
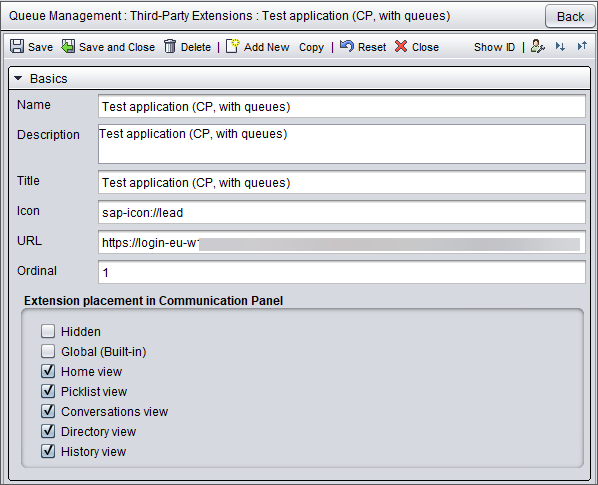
You now have a possibility to place your custom extension area in any of the main CP views: Home, Picklist, History, and Directory. Define the view(s) where the extension area is available in . Your configuration makes the third-party extension accessible to agents in CP via the extension area icon.
Communication Panel extensions
is now known as Communication Panel extensions. Communication Panel extensions can be either video assistance extensions by Sinch or custom third-party extensions developed by third-party vendors or system integrators. For more information on video assistance extensions, see Video assistance.
Conversation list timers
It's now possible to configure Communication Panel to show the following timers in agents' active conversations list:
-
Elapsed time since the conversation arrived (applies to calls, emails, and chats)
-
Elapsed time from customer’s last message (applies to chats)
-
Elapsed time from agent’s last message (applies to chats)
You do this by selecting the new Use duration timers in My conversations setting on the user settings template section Communication Panel (CP) settings.
Queue number pool
-
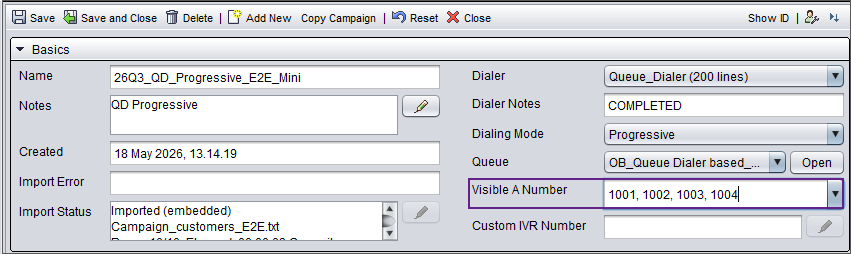
the option Queue number pool for Visible A number and add a comma-separated list of numbers to the field.

or
-
the Numbers/Addresses list in the campaign queue setting list.
For more information about the configuration, see the System Configurator document and the section about configuring campaign's basic settings.
New predictive campaign settings
-
To prevent the dialer from immediately redialing the same customer after a call receives an ABANDONED result, you can now define a delay before the next call to that customer in .

-
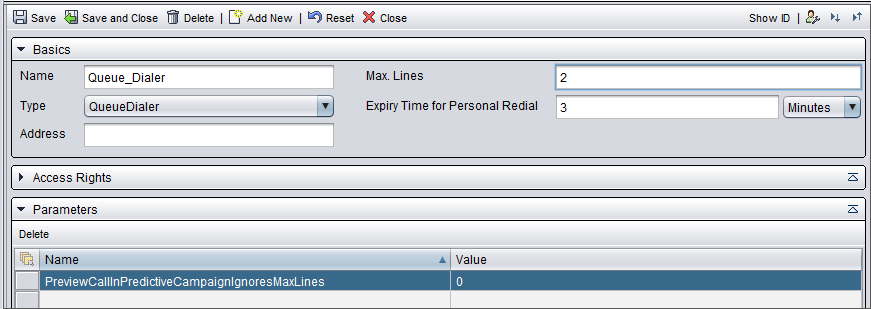
When an agent has classified a predictive campaign call as instant retry, the new call to the customer is made in preview mode and if no lines are available, the call fails. Now the campaign/dialer Max. lines value is ignored by default with the parameter PreviewCallInPredictiveCampaignIgnoresMaxLines. This update also resolves an issue where scheduled or instant retry calls failed to reach the dialer. Previously, such calls could get stuck with no progression, leaving the agent only able to select Cancel in Communication Panel.
If you want the dialer to follow the Max. lines value, change the parameter PreviewCallInPredictiveCampaignIgnoresMaxLines value to 0 in .
Extension area split view
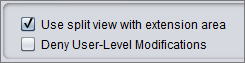
A setting has been added for using the split view in Communication Panel's extension area. You can find this setting at :